Pages

Friday, September 14, 2012

Inspiration deck - part three

Time to put part one and part two of the inspiration deck together:

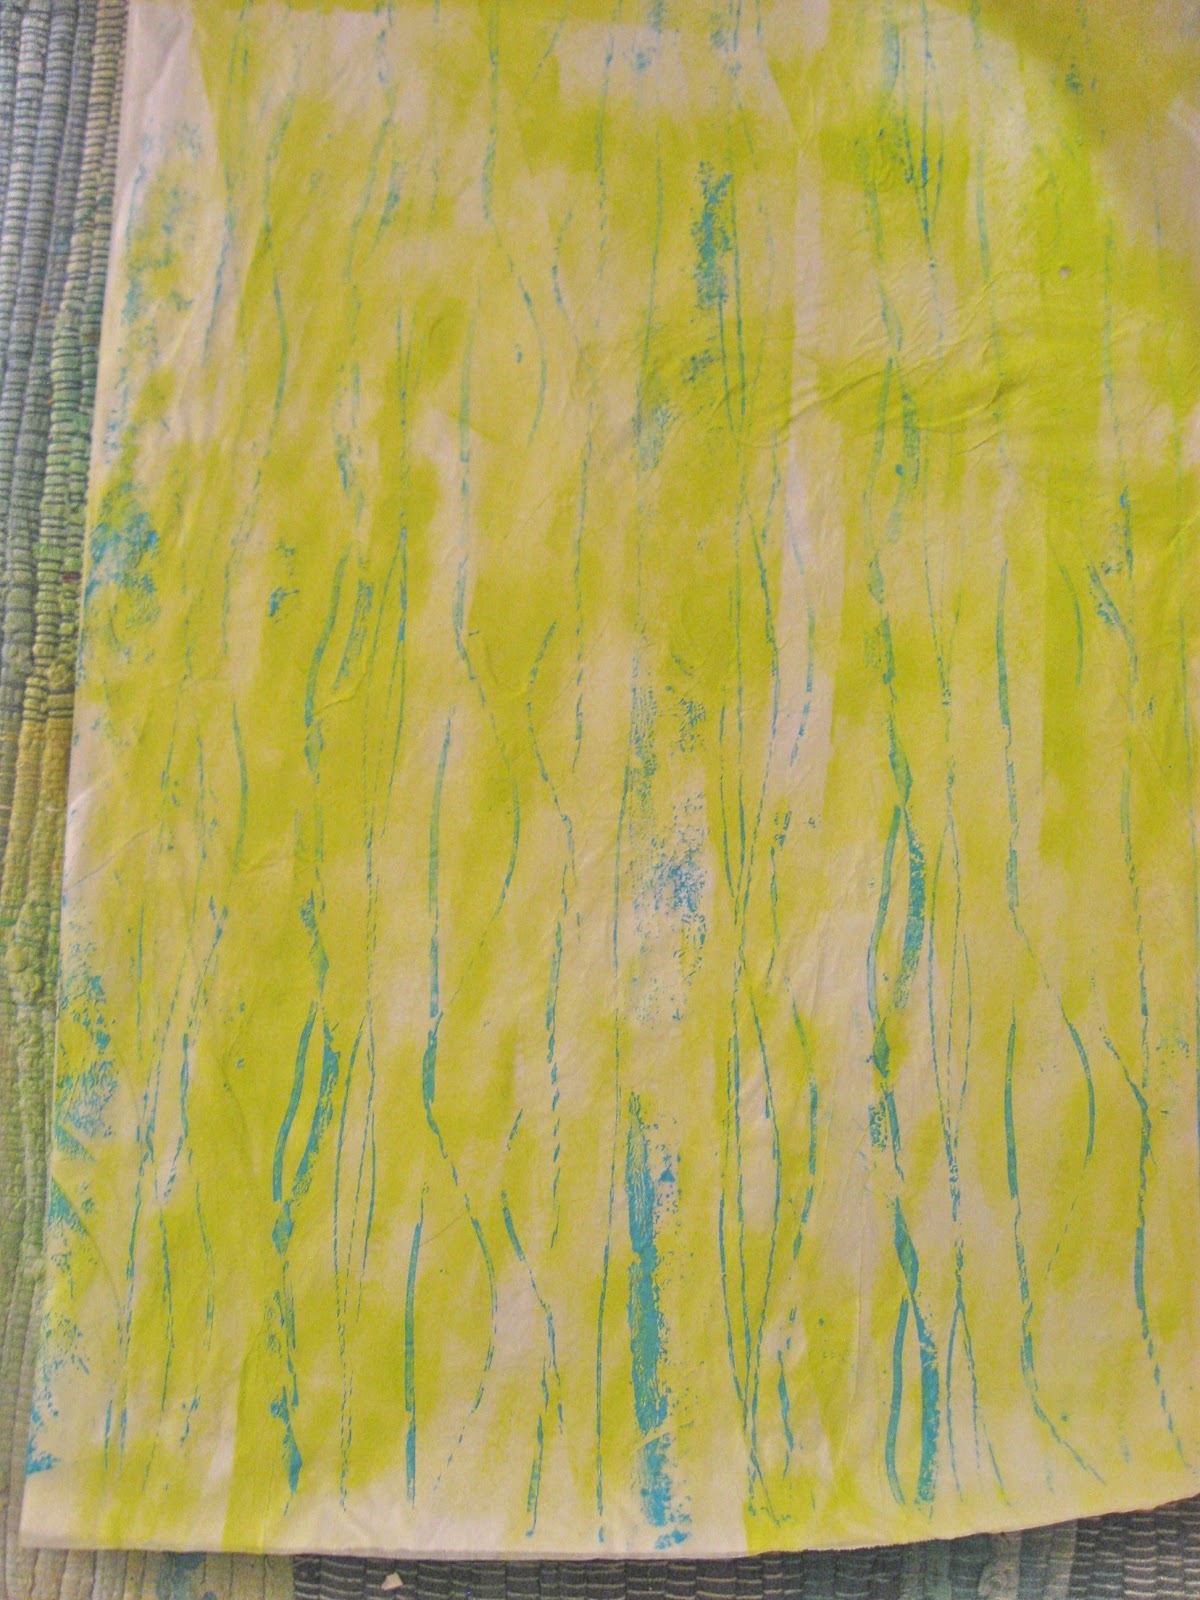
remember these tissue papers I painted?
 

They peel off the freezer paper pretty easily.  There were a few little holes and tears in the paper, but not many, and I didn't care since I was using them for collage anyway.
 I tore off a chunk and used gel medium to glue the whole big piece over some cards.
(warning:  Jess has asked us not to use Mod Podge because she had big problems with a few decks last year.  Gel medium was my one extravagance in this project.)
 
 The tissue was still kind of wet and gluey when I pulled the cards off the freezer paper and separated them.  It made the tissue rip in interesting ways.
 
 Here's an example using a different tissue paper:
 
You can peel them off the freezer paper in a single sheet and trim them with scissors


After this, I wanted to explore other ways of creating texture and layers on my cards.
I tore little strips of newspaper:
Glued them on the sheet at random, overlapping multiple cards:
 I rolled on a light layer of gesso to tone it down a bit:
 I grabbed a homemade stamp (made from that same non-skid rubbery stuff) and rolled paint on it:
and stamped these little blue dots all over:
 the sheet of cards now looked like this:
I thinned some darker blue paint and some black paint with water:

then I started flinging the paint all over them by shaking the brush:
 Here they are with both blue and black drips before I cut them apart:
 
Now, I realize the paint flinging approach is not for everyone, so in consideration of those of you who don't have the space or inclination to get totally messy, I present an alternative way to add layers of paint:

 I buy these die-cut scrapbook papers from the big crafts stores and use them as stencils.  They're pretty cheap and hold up well to many uses:

 Here's what the cards looked like when I used gesso over the stencil:
 Here's what they looked like when I used blue paint over the stencil:
such different effects from the same stencil.  I love that.
 
Here's a sampling of the variety of backgrounds I created using these techniques.
All off the steps you've seen so far were done in a single (albeit long) evening of art making.

Stay tuned for part four in which I let the cards dry overnight and then add the text and finishing touches.

Inspiration Deck - part two

Continuing with my Inspiration Deck tutorial:

I wanted some layers and texture on my cards so I decided to paint some tissue paper.
This is ordinary white tissue that you'd use inside a gift package.  You can buy it anywhere, even at the dollar store.  Or pull it out of one of those empty shoeboxes you probably have in your basement.
Once again I lightly iron it to some freezer paper.  This gives it a lot more strength while you apply paint to the fragile tissue. 

 I started by loosely rolling on a layer of craft paint, leaving some white parts showing.

 Then I took one of the $2 rolling pins I found at Goodwill and wrapped some rubber bands around it:
 and I squirted a big puddle of darker blue paint on a plastic cutting board and rolled the pin through the paint:
 and rolled it on the paper to make interesting lines and splotches:
 I did the same thing on a greenish-yellow background:
 Next, I squirted some gesso on big bubble wrap, smeared it around with my foam roller, and used it to print on top of more blue paper

 then I rolled some green paint on smaller bubble wrap and printed another layer on top of that:
 Took I took some of that rubbery stuff that you can use under throw rugs to keep them from slipping and rolled on some green paint and then some blue paint and made a print with it:


I took some corrugated cardboard in the form of a coffee sleeve,  rolled black paint on it and used it to print lines in various directions


 I squirted water into the remaining puddle of black paint on my cutting board to thin it, rubbed an old toothbrush in it, and then flicked black paint all over one of the sheets:

 This thing pictured below is a homemade stamp.  I found the round things at the dollar store - I think they are supposed to be used on the bottoms of the legs of your chairs to protect your floors.  They came in a big package in different sizes.  I glued them to a piece of foam core board to make a sturdy stamp.  I covered them with black paint and stamped those cool, checkered circles:


 Then I hung all the sheets of freezer/tissue paper up to dry.
(I love my clothesline in my art room.  I screwed two hooks into the ceiling at opposite corners of the room, tied loops in the ends of a cheap plastic rope, and hooked the rope from corner to corner.  When I want to use the room for something other than art it's so easy to slip off the hooks and tuck away and the hooks just stay in the ceiling since they are rather small and inconspicuous)

In part 3 I'll show you how I used this tissue with my already prepared backgrounds.
(but now I'm off to IKEA!  yippee!)

Inspiration Deck Swap - part one

One of the best swaps I did last year was Jess Brogan's inspiration deck swap.
Each person took a deck of playing cards, decorated them and adding inspiring quotes and sent the deck to Jess.  She swapped all the cards and mailed me back a deck with 52 different cards, from 52 different artists, with 52 different inspiring quotes.  
This is the deck I received last year:


Don't you wish you had one of these?
Well, you can!
I was thrilled when Jess announced she'd be doing the swap again this year.
You can read all about this year's swap on her blog, In Search of Dessert.

Jess asked me if I'd make my deck early this year and give everyone a sneak peak at the process.
Here are  my finished cards for this year's swap.

You totally need to join this swap.  The deadline is November 15th - that's two whole months from now.  And before you go saying "Karen, you are out of your mind, I don't have the time, patience or resources to make 52 different pieces of art in the next two months!" follow along while I show you my quick and easy methods for making beautiful cards out of the most basic supplies and household items.  I'm going to post this in multiple parts since it's so photo heavy.

To begin:
Do you have stuff like this?
 
 
 Then you can make a deck.
In a single weekend. I kid you not.
Read on.

FIRST, I laid all my cards on freezer paper, covered them with regular old copy paper and lightly ironed them so they'd stay in place.


Then I grabbed a cheapo foam paint roller from the hardware store and rolled it through some gesso and primed all my cards in a few quick stokes.


I liberally squirted two colors of craft paint on the cards and went at them again with the foam roller to lay down some quick color.


Now I hang it on my clothesline to dry while I work on the next step.
Read on for part 2.