Pages

Friday, May 9, 2014

New tools

I was reading Laura's blog last week and saw she had decorated a journal cover with circles of corrugated cardboard.  It not only looked cool, but it got me thinking...would this work as a stamp?  or a rubbing plate?  or both?

So I made one and tried it out.
I cut different size circles out of different types of corrugated cardboard and glued them to a 6x8 piece of heavy cardboard.  I covered it with a few coats of matte medium to seal it before I started using it with paint.

Here's how it looks as a rubbing plate (copy paper placed on top and rubbed with a black crayola)

 Here's what it looks like as a stamp (rolled paint onto stamp with a brayer, pressed it onto copy paper):


So far so good.

I decided to try it on the gelli plate.
I rolled on a thick layer of paint with the brayer, pressed the stamp in the paint, lifted it off and pulled the first print:

There was enough paint left on the plate to pull another print, which I liked even better:
  

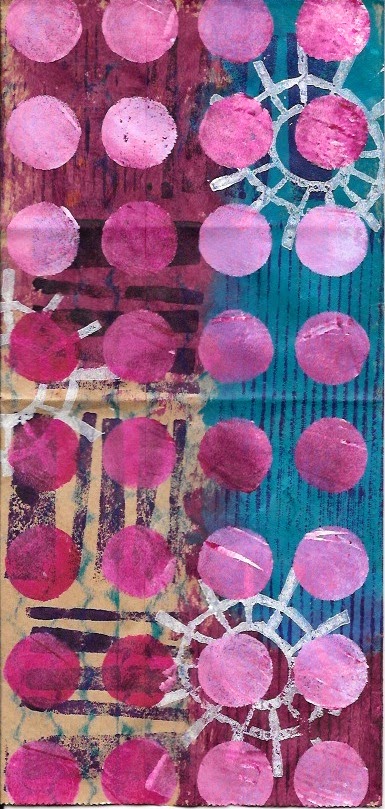
Then I pressed the still wet stamp onto the now clean gelli plate and pulled a print of that:
(I like the way the original red paint on the stamp came through on this print)

 I decided to try layering a few of these techniques and I was really pleased with the results. 
 

I now have a whole new way to paint papers for backgrounds and collage fodder.  Many thanks to Laura for the inspiration! 

But that's not my only new tool of the week.
Every day for the last three days I've walked past the same piece of trash on the side of the road.  This morning I could resist it no longer.  Even though I was more than a mile from home, I picked it up and carried it on the rest of my walk.

 I suspect it was part of a large plastic egg carton, but now it's my new favorite printing tool for the gelli plate.

Here's a simple print after the bottom of the tray was pressed in wet paint:

For this one I pressed both the top and bottom of the crate into the paint:

I then layered the ghost print from the orange paint on top of my first green print:

For this one, there was still orange paint on the bottom of the tray when I pushed it into the blue paint.  Happy accident!


I made a bunch of different prints and then cut some up for a quick postcard:


Fun, Fun, Fun.
I'm so glad I finally stopped and picked this up.

What's you're favorite unconventional art tool?

Thursday, May 8, 2014

Without expectation or judgement

It's hard to sit down and paint without any expectation or preconceived notion of the outcome.  It's even harder not to look upon that work with harsh criticism.
Yet, as part of my commitment to learning about my paints, that's exactly what I'm trying to do.


It helps me to approach each painting session with the intention of learning and the attitude of a scientist intent on discovery.  I don my imaginary lab coat, spread out my materials and ask "I wonder what will happen if...."

Ask that question enough times and you end up with something odd like this:

This little 4x6 board has a LOT going on.
I started with blending different colors of fluid acrylic with some glazing medium.  I scratched into the paint before it was dry.
I then covered half the board with acrylic ground for pastels (which makes a surface toothier and more suitable for drawing).  I used a variety of implements to make marks on both sides of the painting to see what difference the ground makes.

On a piece of glossy freezer paper I applied acrylic paint, let it dry, and then over the next few days applied three layers of soft gel medium.  When peeled off the freezer paper it makes a transparent "skin" which I adhered over the entire surface of the board.  Then I started playing with different glazes on top of that - trying out my new jar of "micacious iron oxide" and my new tube of interference paint.

It's kind of a hot mess, but it sure is educational.


To keep track of my experiments I'm writing notes on the back of the board.


This one is, among other things, an experiment in using crackle paste three different ways.

Here's one with graphite circles and an attempted image transfer.

This one started with a purposeful attempt at composition, and I've been displeased with it at every stage, but I keep adding layers of paint and glaze to see how it changes.
 

I find even when I don't like a whole piece I'm finding little bits that make me happy.

And then there's this one.
(Talk about your hot messes...)
It's kind of cracking me up.  It's got corrugated cardboard, modeling paste*, cheesecloth, fiber paste, and heavy gel medium, then a billion layers of paint, and another billion layers of glaze.

Then, because it wasn't ugly enough, I added a light wash of white, then glued down some circles that had been stamped on tissue paper.  This one will almost certainly end up in the trash bin, but since the canvas only cost me a dollar, and I already owned all the supplies, the time and materials are well spent on the learning opportunities this piece has given me.


Here's another oddly textured substrate with lots of paint and glaze experiments going on.

On this next one I'm testing three different mediums that came in a sampler of Golden products that I got on sale two years ago and never opened:  fine pumice gel, coarse molding paste* and fiber paste.
(*and how come some brands call it modeling paste and some call it molding paste, when they seem to be the same product?)

I was really liking the background of this next one, and wanted to try some kind of loose imagery on top to bring it all together.  I penciled in some leaf-like shapes, then applied ink straight from the dropper to go for a bold loose feel.
It's not done, but I don't like it.
I also don't care.


I used to be so afraid to ruin things.
When I first started making art, so many things happened by happy accident. I didn't know how I made them, so didn't know how to replicate them.  I was often paralyzed to take further steps because I doubted I could ever get that same effect again.

As I methodically and systematically learn about my materials, I have a lot more confidence that I can start over if I end up taking the painting in a direction I don't like.
Scribbling on the above canvas was a "nothing ventured, nothing gained" experiment.
I might have ended up with something I loved, or (as it happened) I might have ended up with a challenge to develop this piece even further.  Knowing I can cover the whole thing with gesso and start again (with reasonable assurance of successfully repeating the parts I like) is liberating.  There's less hand wringing and more action.

 I will continue experimenting with these pieces - adding layers, trying new techniques, obscuring some parts, enhancing others - ever curious about what happens next.


Sunday, May 4, 2014

paper bag journal


I keep painting lunch bags, and decided to move forward with my idea of binding them into a book:

It's got a simple pamphlet stitch binding:

The open end of the bags form pockets:

Inside the pocket is a plain piece of card stock with a handy tab attached to make it easy to pull out. These could be used for collage, or writing, or more paint (or a combination of all three):


Here are the inside pages.   

I wasn't sure if this binding was going to work so I used my least favorite bags for this one.

I like these bags just fine, but there are others I like a lot more and I didn't want to use them as guinea pigs. 

The pages are pretty busy.
I'm not sure how it will work to truly use it as a journal.

 I suppose you could add photos and other mementos to the pages.

Or you could write/draw on small plain pieces of paper and glue them down on top of the painted page, leaving some of the background visible.

Some pages already have space for writing.  And you could certainly tone down some pages with gesso and incorporate your own imagery.

It's got a lot of potential.
I'm really pleased with the way this turned out, and it's such a simple project.
I think I'm going to host a "paper bag journal" swap at MMSA.

Meanwhile, I've got more paper bags to bind!

Wednesday, April 30, 2014

Get off your butt and paint

For a long time now I've been wanting to develop my abstract painting skills and to create things on canvas that I would want to hang in my home.

I take the occasional half-hearted stab at starting a painting, but mostly I just wistfully think "maybe someday" and go off and make another batch of postcards.

But ENOUGH ALREADY!
I will never develop my painting skills if I don't paint!
(duh)
8x10 work in progress on canvas

Plus I'm on this "use my stuff" kick, and I have all these great supplies and resources I rarely use.

Case in point:
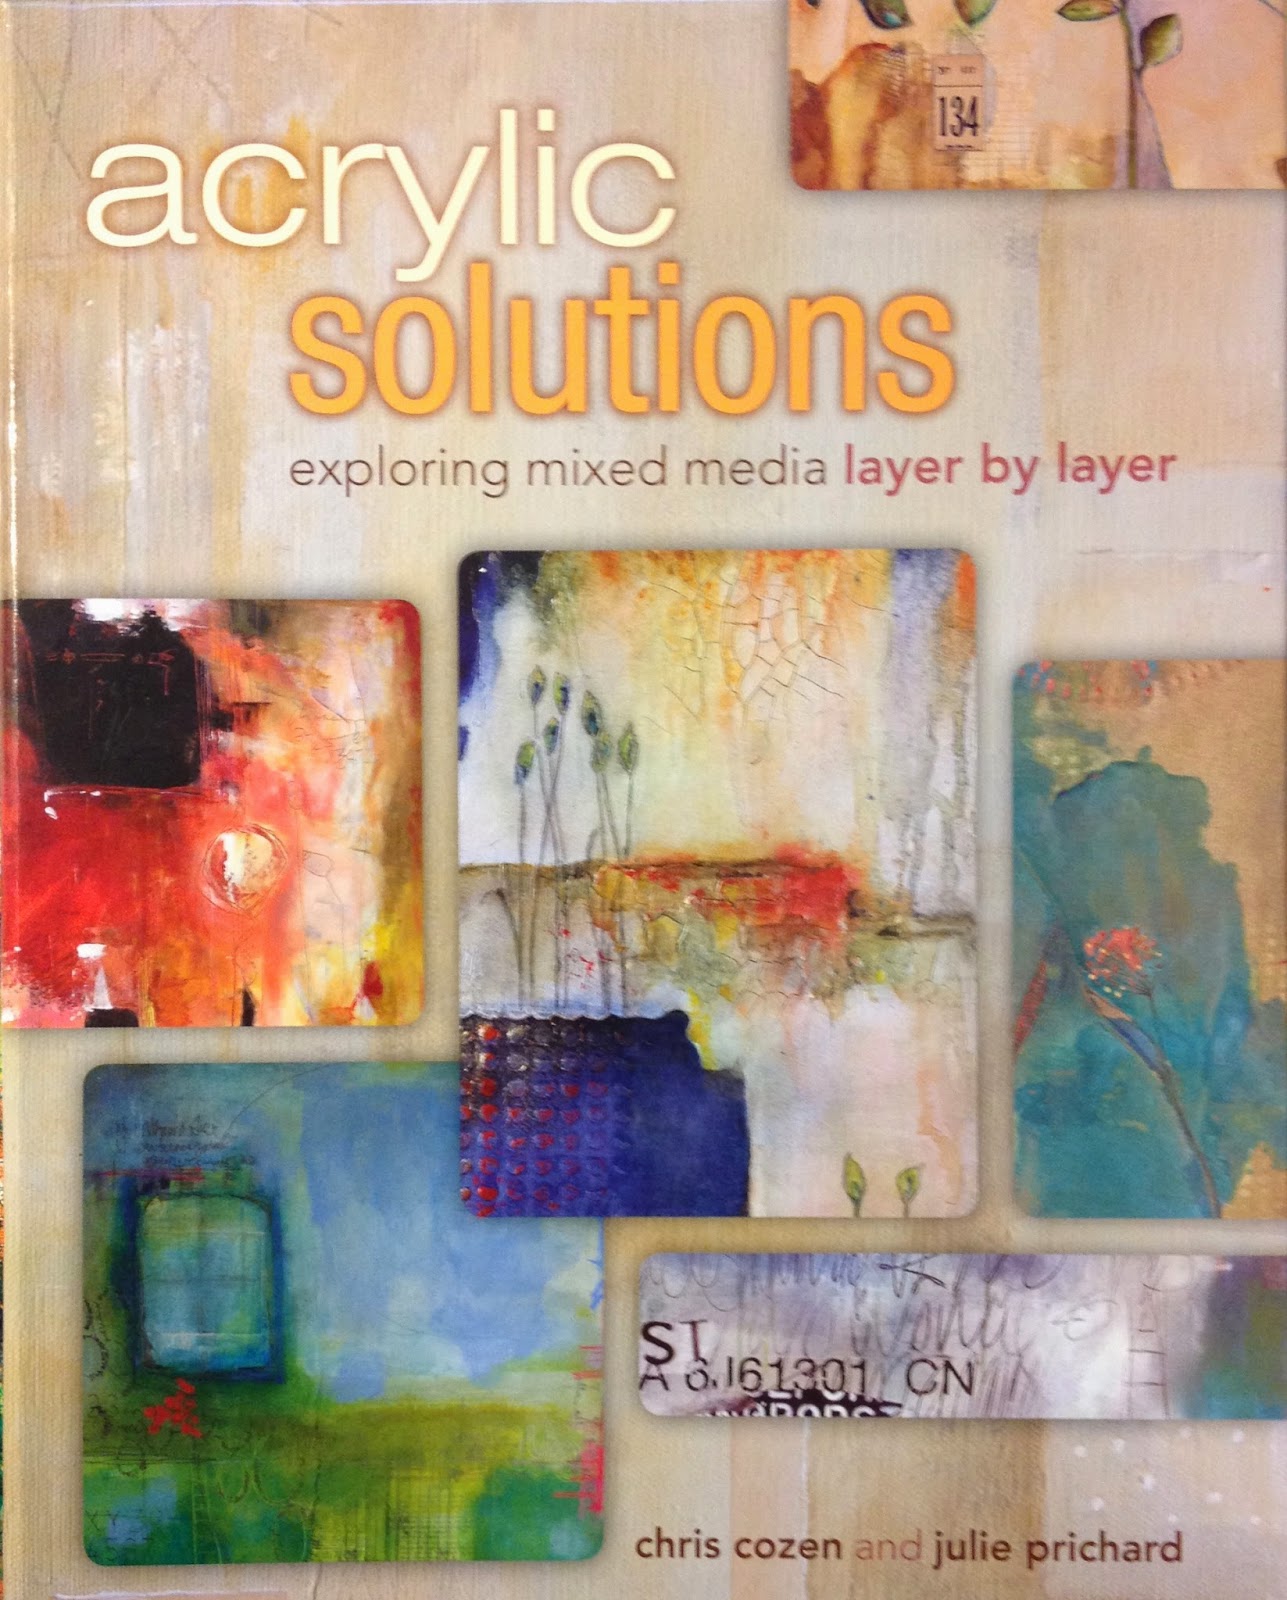
I bought this book over a year ago and I've never even cracked the cover.

Last weekend I pulled it out and decided to work through its exercises.

a bunch of 4x6 canvas boards, in progress


I prepped about 15 canvases of different sizes that have been sitting unused in my closet, taking the time to carefully apply multiple layers of gesso (rather then just assuming the canvas would be fine straight out of the shrink wrap.)

Some of the canvases have structural elements adhered to them before they were gessoed, others were left plain.
8x10 canvas with a variety of corrugated cardboard, cheesecloth, molding paste and heavy gel medium, ready for paint.


 I'm not worrying about composition, or finished products.
8x10 canvas with a variety of ephemera glued to the canvas before the first layer of paint.

I'm taking my time to learn the differences between my fluid acrylics and my heavy bodied acrylics.  I'm playing with glazes and mediums and blending techniques.  I'm decided which types of brushes are best for each type of job.
4x6 canvas board, work in progress


I will not worry about whether my work looks original or exactly like the exercises in the book.  
It doesn't even matter if I like the way the canvas looks.
In fact, I fully expect all of these canvases to be painted over multiple times.

Right now, this journey is about playing, learning, and experimenting.  Do I like visible brush marks on the canvas?  Do these colors blend well?  What happens if I add a dab of white?


How can I get the invisible blending technique shown in the book?  Is that a look I even like?  How do my fluid acrylics get along with my heavy bodied?  Should I add another layer while the paint is still wet, or wait for it to dry?

I'm on a mission to answer all these questions and more.  Stay tuned!

Monday, April 28, 2014

paper bags

One of the art groups I belong to is having a "brown paper bag" swap.
What we create, and how we create it, is entirely open, as long as we use a brown paper bag.

I've been busy painting small lunch bags:


I have to say I'm completely in love with these and I'm not sure I can give them away.  There are another dozen in various states of completion.  Maybe I'll like them less and will be able to part with them.

My grand idea is to stitch a few together into some type of book and to add something fun to the "pockets" that are created when you fold a lunch bag in half, and one side of the page has the bag opening at the edge.

Just like the world outside my door, the good ideas are blooming.  I'll share the finished project with you when it's done.

What's blossoming in your neck of the woods?