Having met my sweetie in those dark pre-internet days, I have never experienced the strange phenomenon of meeting someone in person who you've only known on-line.
Until this year.
I've made so many art and blogging friends in the last 12 months, and I have now had the joy of meeting, in person, Corrine, Amy, and, as of last weekend, Mandy.
You may have read my excitement about going to the South Shore Snail Mail Social that Mandy was hosting. I'd had the pleasure of swapping art with Mandy for a while now, and I was excited to meet her and a group of other mail art lovers from around the state of Massachusetts.
The only problem? I was the only one who signed up!
Not to be daunted, Mandy officially cancelled the event and invited me to her house for a blind date.
I dressed up in my best paint-encrusted jeans, bribed her affections with homemade food, and hoped for the best.
It was a HUGE success.
I was immediately comfortable and we spent 8 hours talking, laughing, making art, talking, digging through ephemera, talking, eating, talking....
Our first project was fusing plastic bags.
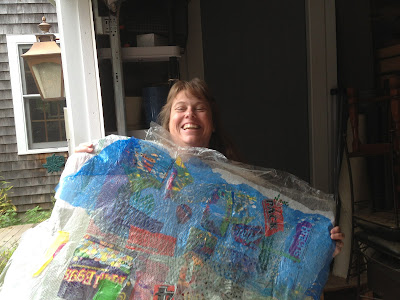
Mandy had saved an impressive variety of bags and we stood at a big table, cutting bags at random and laying them down willy-nilly and then ironing them. Some fused better than others (tutorial, shmutorial - we learn on the job!), but we ended up with two awesome crazy quilts. Here's Mandy modeling one of them:
She immediately cut them up, took them to the sewing machine, and made some really cool postcards. Mandy sews the way I drive - pedal to the floor and without hesitation. I wish I could sew like that. I couldn't create on the spot, but I took home a bag full of fused pieces for further contemplation.
While she sewed, I had a blast pawing through a stack of old board games and playing cards that were stashed in her sewing room.
I have not yet mentioned Mandy's amazing collection of antiques, artfully displayed throughout her very cool house. Did I take any pictures of the vintage advertising signs, or staggering collection of old tins, or really cool wooden board games? No.
I took a picture of this:
The "Make it fun" game of library research skills.
Because if I hadn't taken a picture, you wouldn't have believed me.
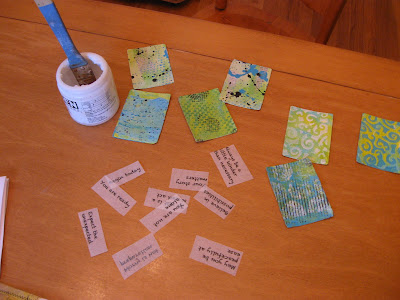
I love that they put "make it fun" in quotes. Implying that it's not really fun at all. I'm not sure who this was marketed toward, but this former library employee and life-long library geek actually wanted to play this game. Fortunately, Mandy let me take home a few of the cards that came with it:

(Answer: d)
Grab the kids for a night of family fun!
Another totally fun project we did last weekend was creating this fabric:

We raided Mandy's collection of fabric, yarn and ribbon scraps, sandwiched it randomly between two pieces of this stuff called Super Solvey, stitched it all together, and then dissolved the super solvey in water. The result is a cohesive piece of fabric made from all those tiny bits. Mandy explains it waaaaay better in the tutorial on her blog.
We left the wet fabric to dry in the sun, and walked a few doors down the street to the oldest town-maintained cemetery in the US. I love old cemeteries. The one in my town is pretty impressive, with graves of revolutionary war veterans, but the town of Duxbury cemetery is where pilgrims are buried. And by pilgrims, I mean the big ones you learned about in second grade - the Mayflower pilgrims - John and Priscilla Alden, and Miles Standish among others.
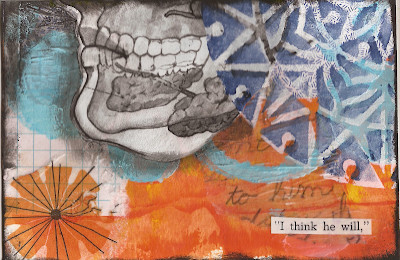
But it's not really the history I geek out on, it's the tombstone carvings. I took a million pictures of the angels and skulls on the gravestones so that I could carve some similar images as stamps
Now, a week later, I finally sat down to play with the things I made last weekend.
Here are a few stamps I carved:

Here is the worlds lumpiest postcard, featuring several pieces of fused plastic and a big pieces of the fabric (as well as some cool sparkly painted paper from Corrine and other scraps from my table)
It was the best first date I've ever been on.
Can't wait to play again.


