Pages

Wednesday, April 30, 2014

Get off your butt and paint

For a long time now I've been wanting to develop my abstract painting skills and to create things on canvas that I would want to hang in my home.

I take the occasional half-hearted stab at starting a painting, but mostly I just wistfully think "maybe someday" and go off and make another batch of postcards.

But ENOUGH ALREADY!
I will never develop my painting skills if I don't paint!
(duh)
8x10 work in progress on canvas

Plus I'm on this "use my stuff" kick, and I have all these great supplies and resources I rarely use.

Case in point:
I bought this book over a year ago and I've never even cracked the cover.
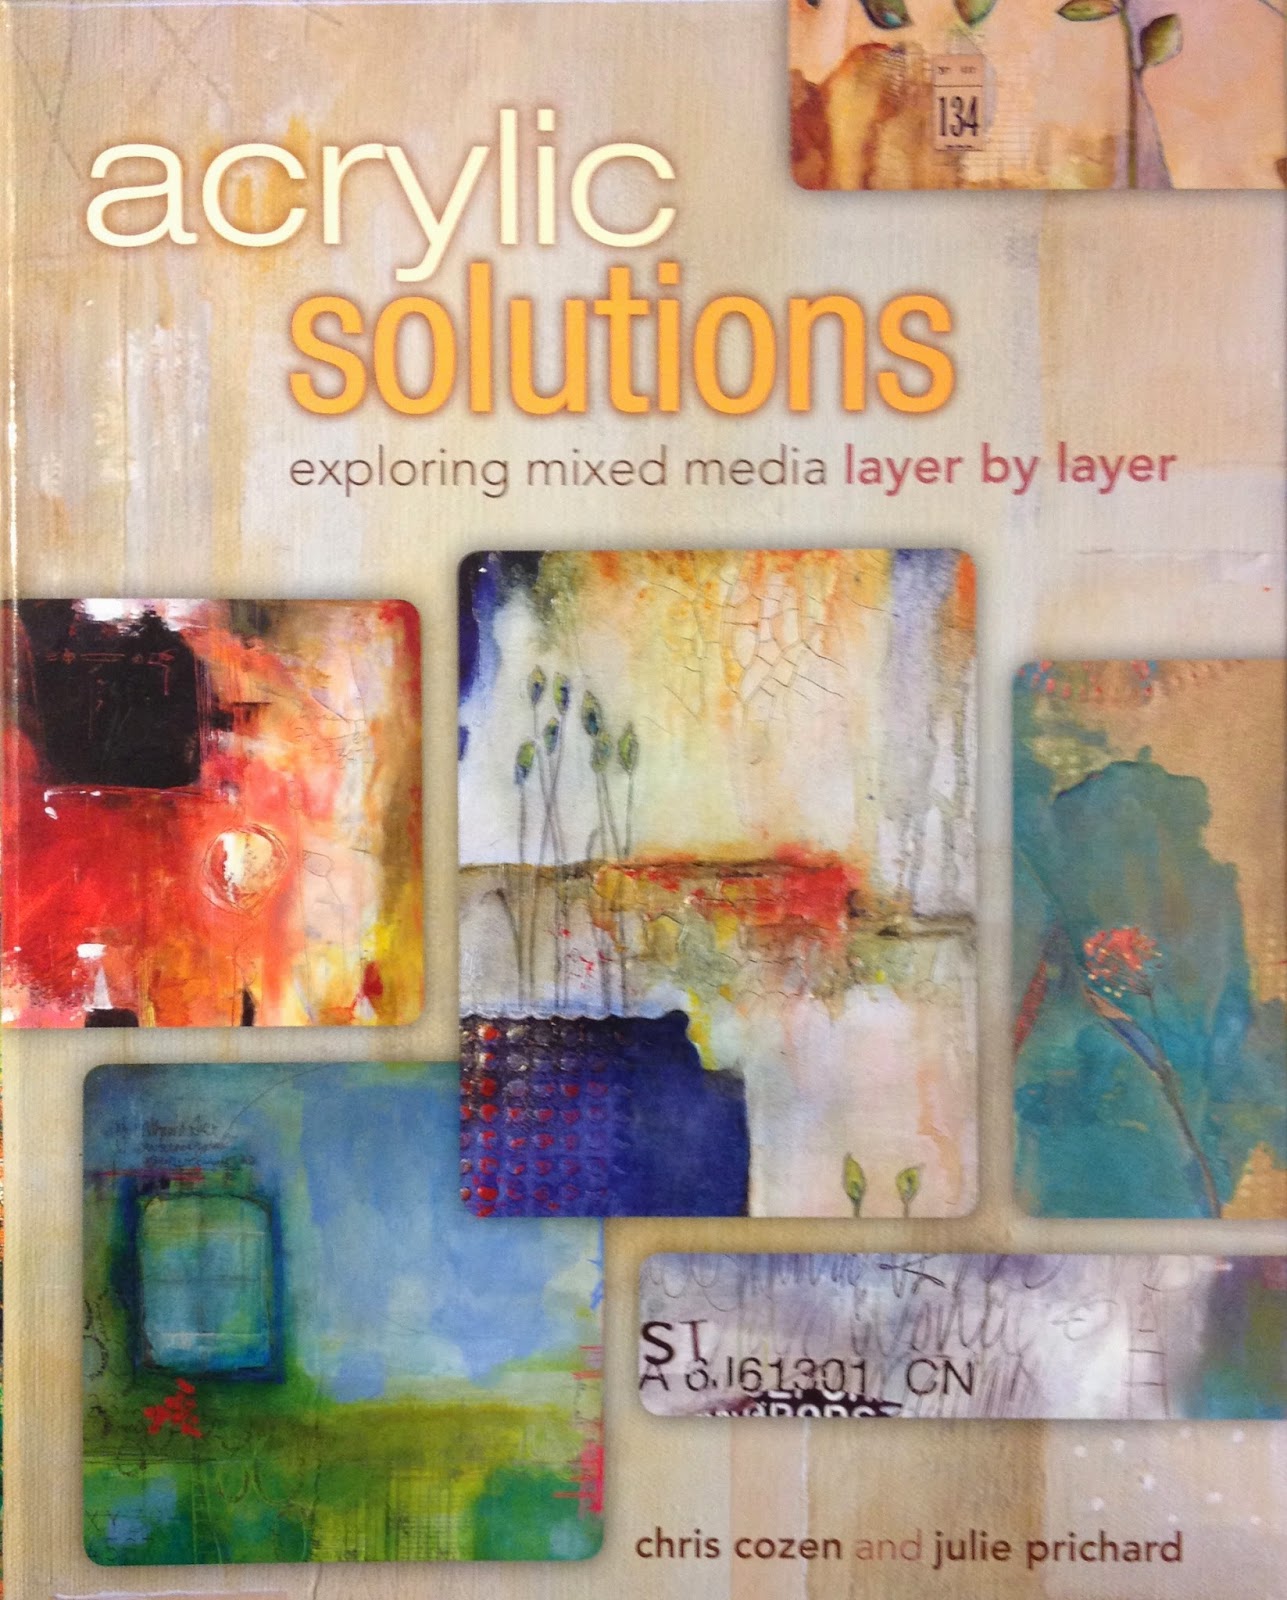
Last weekend I pulled it out and decided to work through its exercises.

a bunch of 4x6 canvas boards, in progress


I prepped about 15 canvases of different sizes that have been sitting unused in my closet, taking the time to carefully apply multiple layers of gesso (rather then just assuming the canvas would be fine straight out of the shrink wrap.)

Some of the canvases have structural elements adhered to them before they were gessoed, others were left plain.
8x10 canvas with a variety of corrugated cardboard, cheesecloth, molding paste and heavy gel medium, ready for paint.


 I'm not worrying about composition, or finished products.
8x10 canvas with a variety of ephemera glued to the canvas before the first layer of paint.

I'm taking my time to learn the differences between my fluid acrylics and my heavy bodied acrylics.  I'm playing with glazes and mediums and blending techniques.  I'm decided which types of brushes are best for each type of job.
4x6 canvas board, work in progress


I will not worry about whether my work looks original or exactly like the exercises in the book.  
It doesn't even matter if I like the way the canvas looks.
In fact, I fully expect all of these canvases to be painted over multiple times.

Right now, this journey is about playing, learning, and experimenting.  Do I like visible brush marks on the canvas?  Do these colors blend well?  What happens if I add a dab of white?


How can I get the invisible blending technique shown in the book?  Is that a look I even like?  How do my fluid acrylics get along with my heavy bodied?  Should I add another layer while the paint is still wet, or wait for it to dry?

I'm on a mission to answer all these questions and more.  Stay tuned!

Monday, April 28, 2014

paper bags

One of the art groups I belong to is having a "brown paper bag" swap.
What we create, and how we create it, is entirely open, as long as we use a brown paper bag.

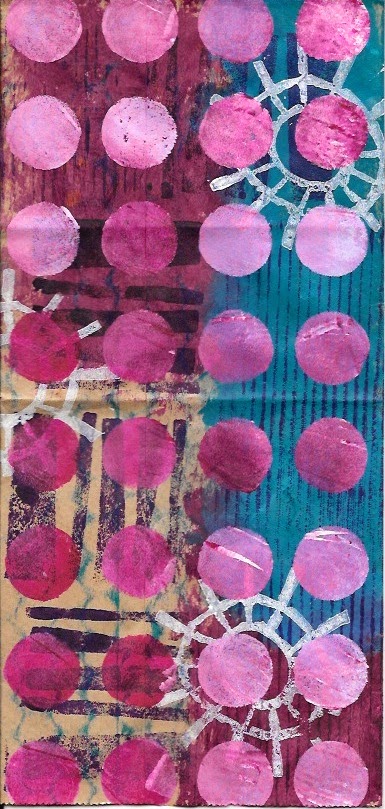
I've been busy painting small lunch bags:


I have to say I'm completely in love with these and I'm not sure I can give them away.  There are another dozen in various states of completion.  Maybe I'll like them less and will be able to part with them.

My grand idea is to stitch a few together into some type of book and to add something fun to the "pockets" that are created when you fold a lunch bag in half, and one side of the page has the bag opening at the edge.

Just like the world outside my door, the good ideas are blooming.  I'll share the finished project with you when it's done.

What's blossoming in your neck of the woods?

Saturday, April 26, 2014

Just another Saturday night

a good idea (or two) leaves no room to move in the studio


As usual, Jake is unfazed.

I hope your Saturday night is equally inspired.

Friday, April 25, 2014

Painted pages

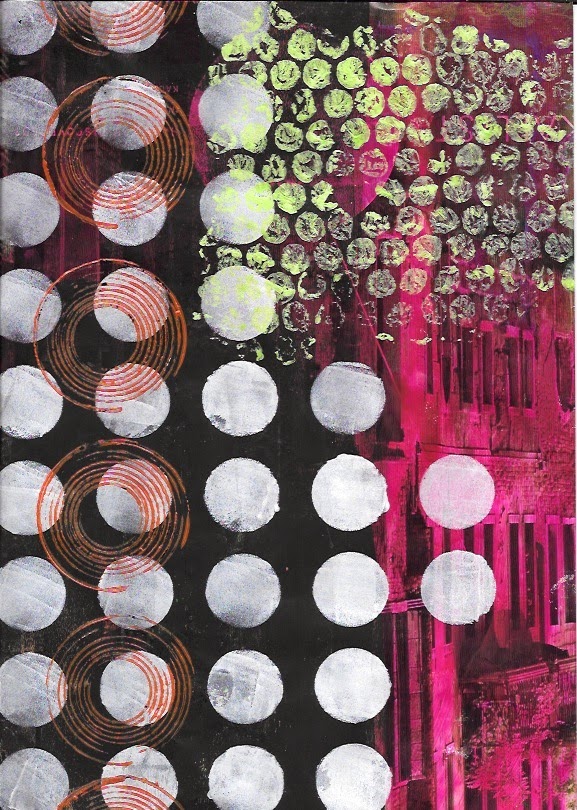
After borrowing Roxanne Padgett's book, Acrylic Techniques in Mixed Media, from the library, I was inspired to paint a bunch of magazine pages.


Architectural Digest has wonderfully thick pages which held up to my many layers of paint quite nicely.


I like the way bits of the magazine show through and add interest.


These were so much fun.  I got into that zone where I started thinking "this is all I want to do for the rest of my life."

I think this next one might be my favorite in it's own chaotic way.

Could these next two possible be more "me?"
I'm nothing if not predictable.


 I decided these papers might be just the thing for the upcoming "fold-a-note" swap I'm in.  The idea of the swap is to use a single piece of paper - write a note on one side and fold it so that the other side becomes the envelope.
I learned this folding technique a few years ago from the book "Creative Correspondence" (thank you, inter-library loan) but had never actually used it.

I'm sure there are much better tutorials on you-tube, but here's a few shots of the process.

1. fold the top edge down, about an inch and a half from the left edge.

2. fold the bottom left corner up to meet the top fold.

3. turn the paper slightly clockwise so that the points go up and down.

4. fold the bottom point up.

5. Turn the whole thing around and fold that bottom point up, creating a nice rectangle with a little triangle sticking up at the top.

When you flip it over you have a smooth rectangular surface for your address.
In theory you fold that triangle down and put your postage stamp over it to adhere it and you can pop it right in the mail.

Here's the one I made for my swap partner.

I really didn't trust that stamp to hold the whole thing together so I added lots of adhesive orange circles.

Here's what it looks like inside when you unfold the envelope:
 

I'm quitting my day job and will do this until I run out of magazine pages or paint, whichever comes first.

Thursday, April 24, 2014

file folder envelope


Here's what I'm doing with last night's file folders:


(You can see by the sloppy side closure technique why I haven't taken up embroidery.)

Wednesday, April 23, 2014

Pretty good for a Wednesday night

A messy art table.

A faithful companion.


Graham crackers.

Singing along to old favorites.

A certain 13 year old happy to be on vacation.

The best dad ever distracting him from the pain of his new braces.

The sound of their mingled laughter floating up the stairs.

 Layers and layers and layers of paint.

The pile of gelatin printed file folders grows.

Lots to be thankful for.

Friday, April 18, 2014

"Use My Stuff" week - part 5

For a year or more I've had a stack of backgrounds painted by other people.  Some were part of a painted paper swap.  Others were just lovely gifts.

I love to look at them, but when it comes time to create I always want to use my own papers and backgrounds.  It feels like cheating to use other people's art.

But in the spirit of this week I decided it was finally time to use some of these pieces.  It turned out to be a lot of fun.  I cranked out twelve postcards in a single evening.  Rather than viewing them as my own art, I consider them inadvertent collaborations with some lovely friends.  I have noted the name of the collaborator below each card.


background by Colleen Kent

Background by Corrine Gilman

Background by Corrine Gilman

Background by Dori Singh

Background by Dori Singh

Background by Gina Visione

Background by Jez Eden

Background by Jez Eden


Background by Jez Eden

Background by Karen Miller

 
Background by Colleen Kent, middle card by Corrine Gilman
 
Background by Jez Eden, middle card by Corrine Gilman


Many, many thanks to all of my mail art friends who are so generous in the things they share.  I've created more this week than in the last several months combined.
You have lifted me out of my slump.

Thursday, April 17, 2014

"Use My Stuff" week - part 4

Yesterday I mentioned the abundance of mail I get each week as the MMSA hostess.  Many of my swappers periodically send me lovely little bits of paper as a "hostess gift."
I get painted paper, images, text, book pages, and little bits of their own art in the form of ATCs and postcards.
I have a basket where I keep all those tidbits, and last weekend I was determined to use them!

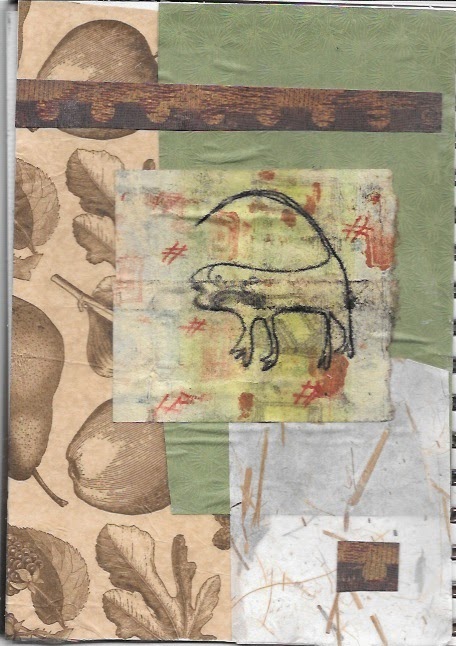
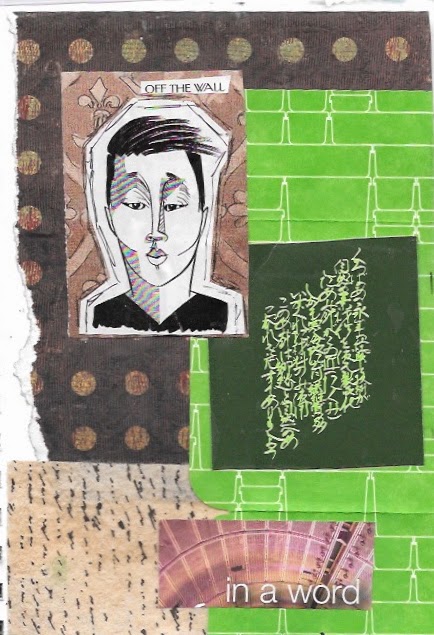
I've started a gluebook in a blank journal.
I did a little outlining with pencil and crayon on a few of them, but they are mostly straight up cut-and-paste (for the sheer pleasure of cutting and pasting.)


These are such fun to make and can be done quite easily in front of the TV.
Most of my art is really messy - using lots of paint and wet glues.  As I result I typically only create in my studio.  It's nice to have something relatively neat and portable to do downstairs with the family, and it feels wonderful to be finally using all these treasures.