Continuing with my Inspiration Deck tutorial:
(read part one here)
I wanted some layers and texture on my cards so I decided to
paint some tissue paper.
This is ordinary white tissue that you'd use inside a gift
package. You can buy it anywhere, even at the dollar store. Or pull it out of one
of those empty shoeboxes you probably have in your basement.
Once again I lightly iron it to some freezer paper.
This gives it a lot more strength while you apply paint to the fragile
tissue.

I started by loosely rolling on a layer of craft paint, leaving
some white parts showing.

Then I took one of the $2 rolling pins I found at Goodwill and wrapped some rubber bands around it:

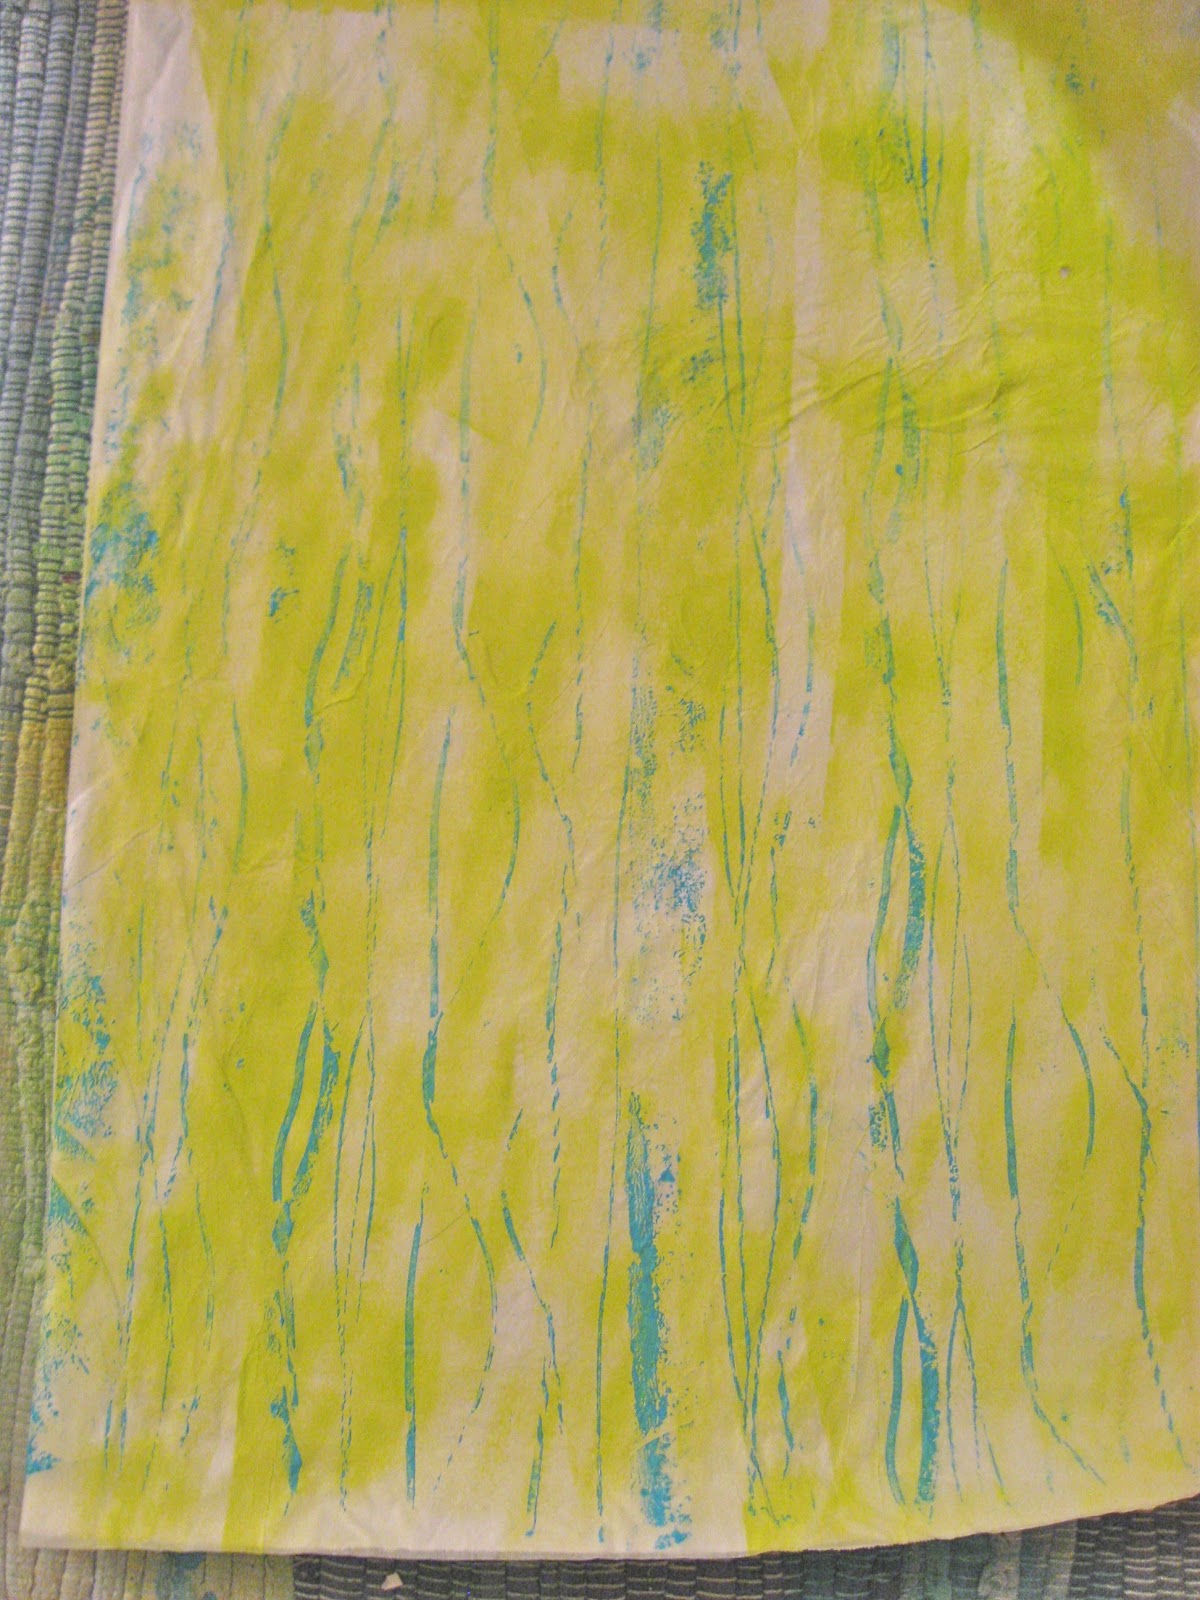
and I squirted a big puddle of darker blue paint on a plastic cutting board and rolled the pin through the paint:

and rolled it on the paper to make interesting lines and splotches:

I did the same thing on a greenish-yellow background:
Next, I squirted some gesso on big bubble wrap, smeared it around with my foam roller, and used it to print on top of more blue paper


then I rolled some green paint on smaller bubble wrap and printed another layer on top of that:

Took I took some of that rubbery stuff that you can use under throw rugs to keep them from slipping and rolled on some green paint and then some blue paint and made a print with it:


I took some corrugated cardboard in the form of a coffee sleeve, rolled black paint on it and used it to print lines in various directions


I squirted water into the remaining puddle of black paint on my cutting board to thin it, rubbed an old toothbrush in it, and then flicked black paint all over one of the sheets:


This thing pictured below is a homemade stamp. I found the round things at the dollar store - I think they are supposed to be used on the bottoms of the legs of your chairs to protect your floors. They came in a big package in different sizes. I glued them to a piece of foam core board to make a sturdy stamp. I covered them with black paint and stamped those cool, checkered circles:


Then I hung all the sheets of freezer/tissue paper up to dry.
(I love my clothesline in my art room. I screwed two hooks into the ceiling at opposite corners of the room, tied loops in the ends of a cheap plastic rope, and hooked the rope from corner to corner. When I want to use the room for something other than art it's so easy to slip off the hooks and tuck away and the hooks just stay in the ceiling since they are rather small and inconspicuous)

In part 3 I'll show you how I used this tissue with my already prepared backgrounds.
(but now I'm off to IKEA! yippee!)
love, love, love your variety of items to make marks with- and your clothesline idea I am totally stealing! How smart!!!
ReplyDeleteThere are so many good ideas and bits of inspiration here. Now I just have to get busy!
ReplyDeleteThat looks like FUN!!!
ReplyDeleteyours are going to be great, I am also doing it this year, just sanded down the cards
ReplyDeleteHave fun at Ikea, great tutorial. xox
ReplyDeleteSuch a tease!! hahaha Love all the layers.
ReplyDeleteUtterly fantastic! A lot of fun steps and wonderful results.
ReplyDelete((fainting))
ReplyDeleteYou make it look so easy and such fun!! Love all the improvisation of stamps and tools!! Blowing my mind!!
ReplyDelete